A role-based quick start for AccessPoint — what it covers, signing in, finding your role, and getting to your first task
Last updated: July 12, 2026 by Steve
Getting Started with AccessPoint
AccessPoint is an integrated access-and-privacy platform that runs inside your organization's Microsoft 365 tenant. It began as an FOI/ATIP request tool and now manages your whole access-and-privacy program in one place.
What AccessPoint covers
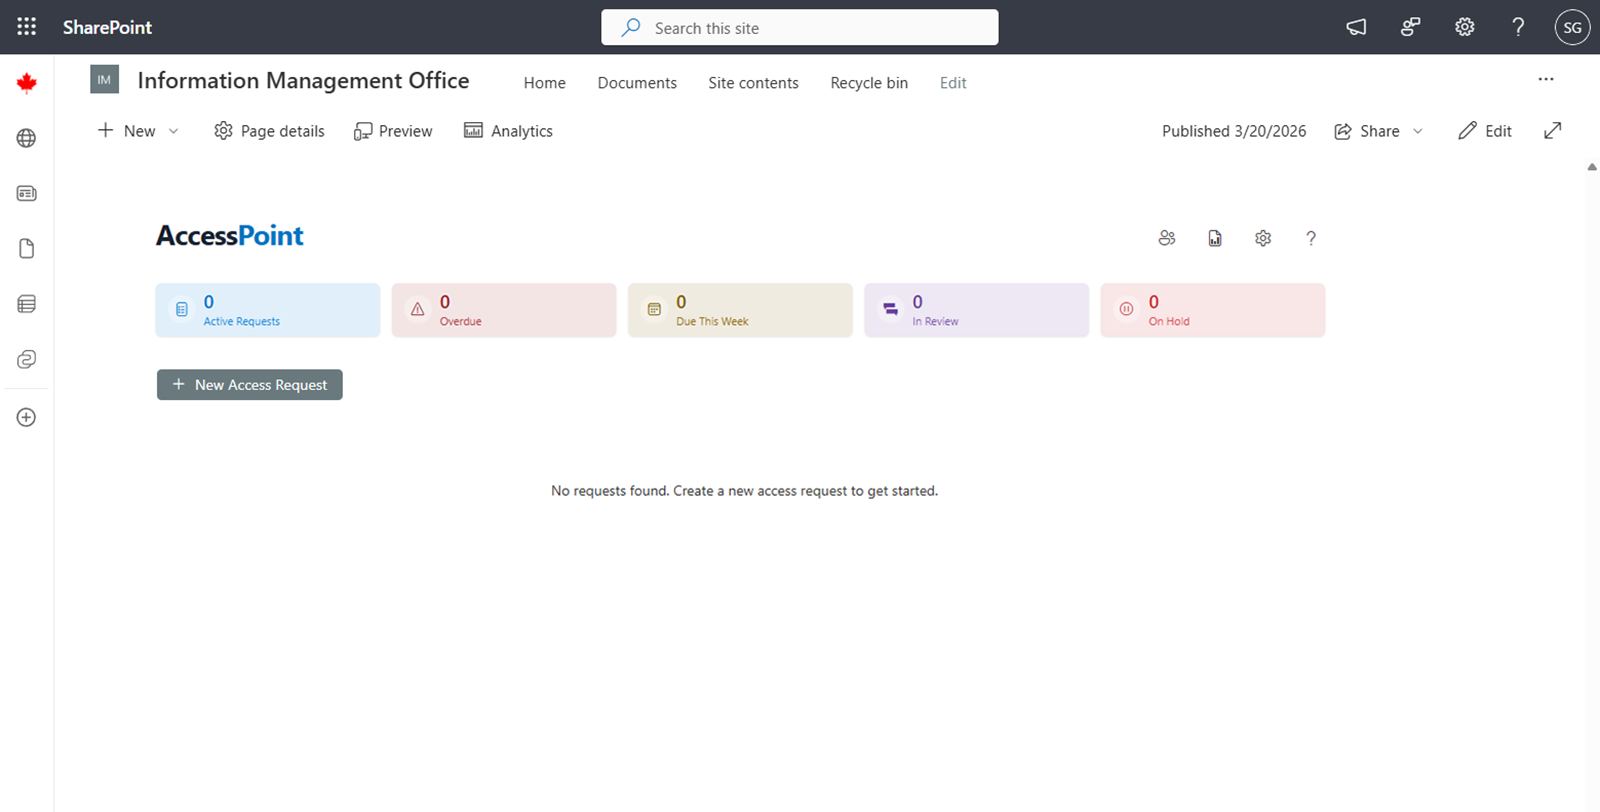
- Access requests — intake, tracking, and full-lifecycle management for FOI/ATIP/SAR requests.
- Documents & redaction — a review workspace to collect, tag, deduplicate, redact, and package records.
- Assignments, tasks & delegation — custodian assignments and contributor tasks, worked from sanitized instructions.
- Requestors, consultations & correspondence — a contacts directory, third-party consultations, and templated letters.
- Reviews & approvals — configurable review workflows that gate key stages.
- Privacy assessments (PIA/AIA/Security) & ROPA — questionnaire-driven assessments and GDPR Art.30 records of processing.
- Privacy incidents & breaches — incident intake, containment, harm assessment, and breach-notification tracking.
- Complaints & appeals — statutory-clock case handling for complaints and appeals.
- Risk register & commitments — a privacy risk register with treatment tasks, key risk indicators (KRIs), and tracked commitments.
- Reports & analytics — fixed statistical reports plus a custom report builder, all over a hash-chained audit ledger.
Everything is driven by configuration packs, so your jurisdiction's rules, statuses, and templates are set by an administrator rather than in code.
Signing in
AccessPoint uses your existing Microsoft 365 sign-in — no separate passwords. Open it either from the SharePoint page where your organization published the web part, or from the AccessPoint app in Microsoft Teams (personal app or channel tab). You are signed in automatically with your organizational account.
Finding your way around
The top navigation shows only the tabs your role uses — Requests, Assignments, Tasks, Reviews, Reports, and Settings — plus My Day, your personal home. A language selector (top right) switches the interface language where multiple languages are enabled.
Your role and first steps
| Role | You work in | Start here |
|---|---|---|
| Access coordinator / Subject Access Officer (SAO) | Requests | Open the Requests dashboard and create or pick up a request. |
| Custodian | Assignments | Open an assignment, collect the records, and submit with an attestation. |
| Contributor | Tasks | Open a task, run the search or upload, and mark it done. |
| Reviewer | Reviews | Open your Reviews dashboard and approve or request changes. |
| Privacy analyst | Requests / privacy areas | Start a PIA/AIA, log an incident, or work a complaint or risk. |
| Administrator | Settings | Import a configuration pack, then assign roles. |
Custodians and contributors always work from sanitized instructions and never see requestor personal information.
My Day — your "what next"
My Day is a computed to-do list across everything you touch — requests, assignments, tasks, reviews, consultations, assessments, incidents, complaints, risks, and reminders — grouped into Overdue, Due today, Due soon, and Needs action. Click any item to open it in place, act, and return to your list.

Getting help
Every panel has a Help (?) icon that opens contextual documentation for the exact screen you are on, right inside the app. Use it any time you need step-by-step guidance for the panel in front of you.
Next steps
- User Guide — how to work each area
- Administrator Guide — configuration and setup
- Deployment Guide — install AccessPoint in your tenant